And using up those scrap pieces
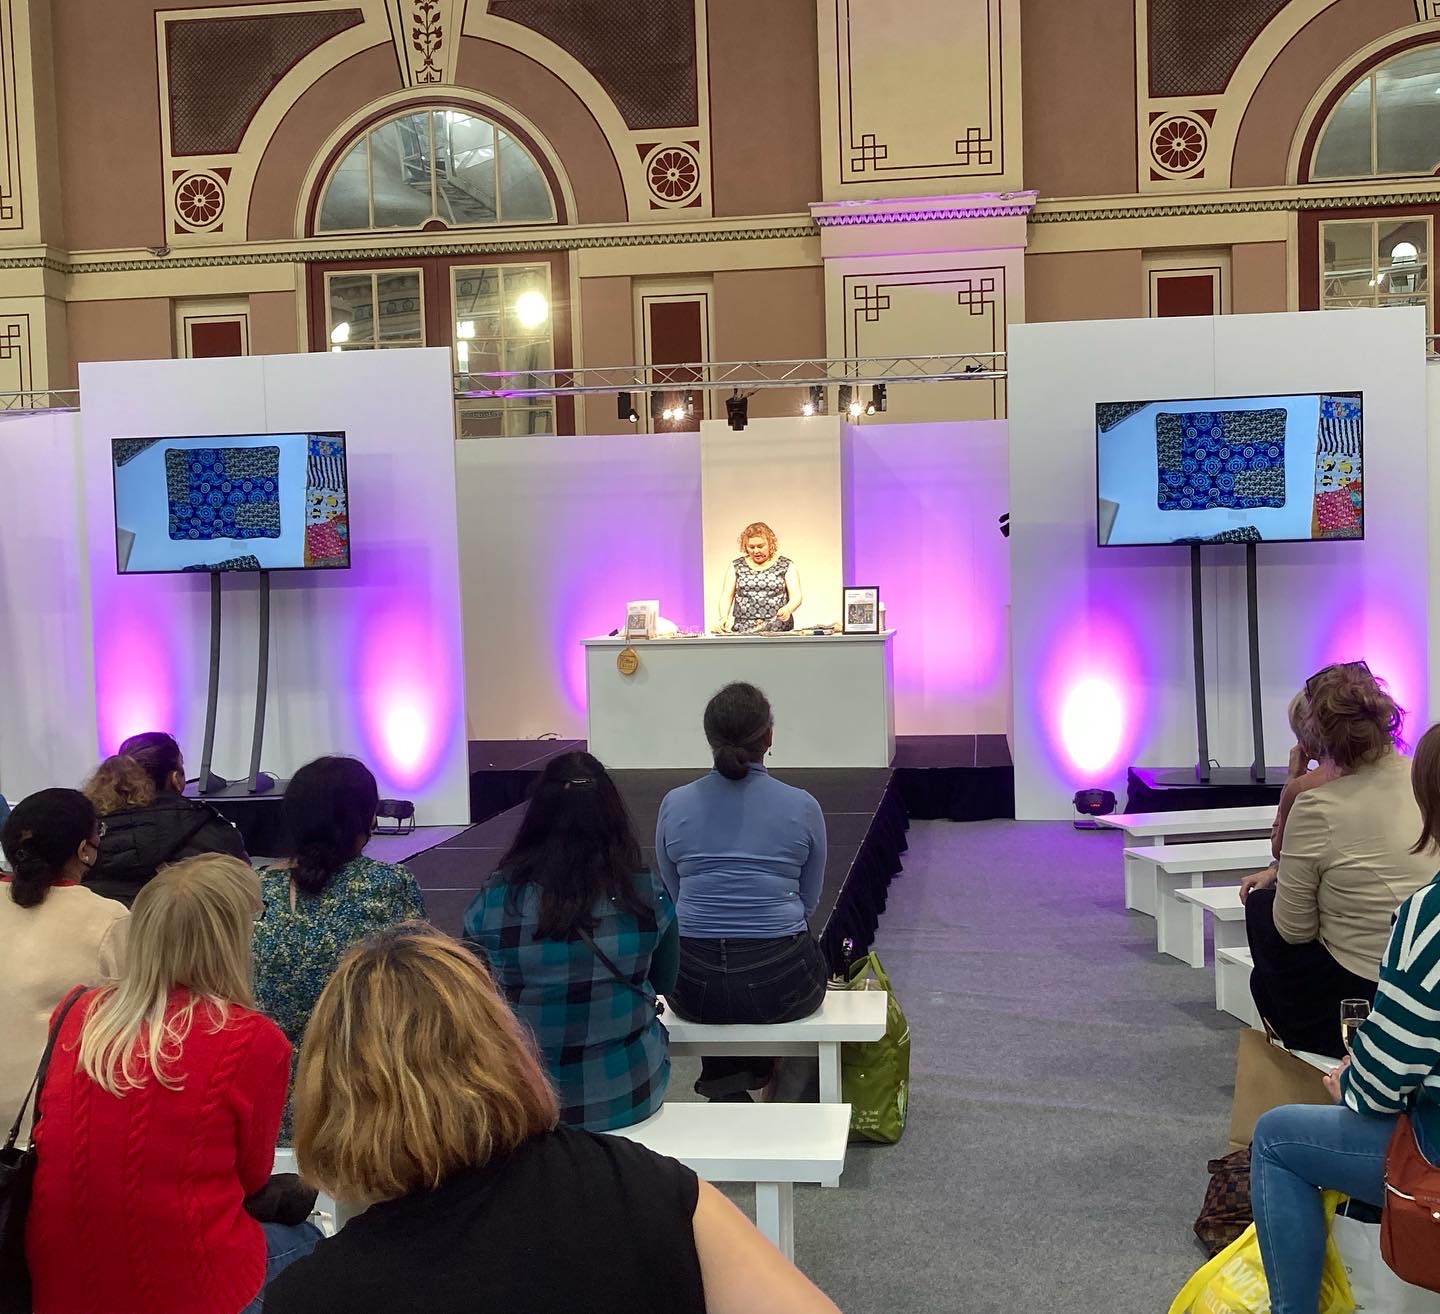
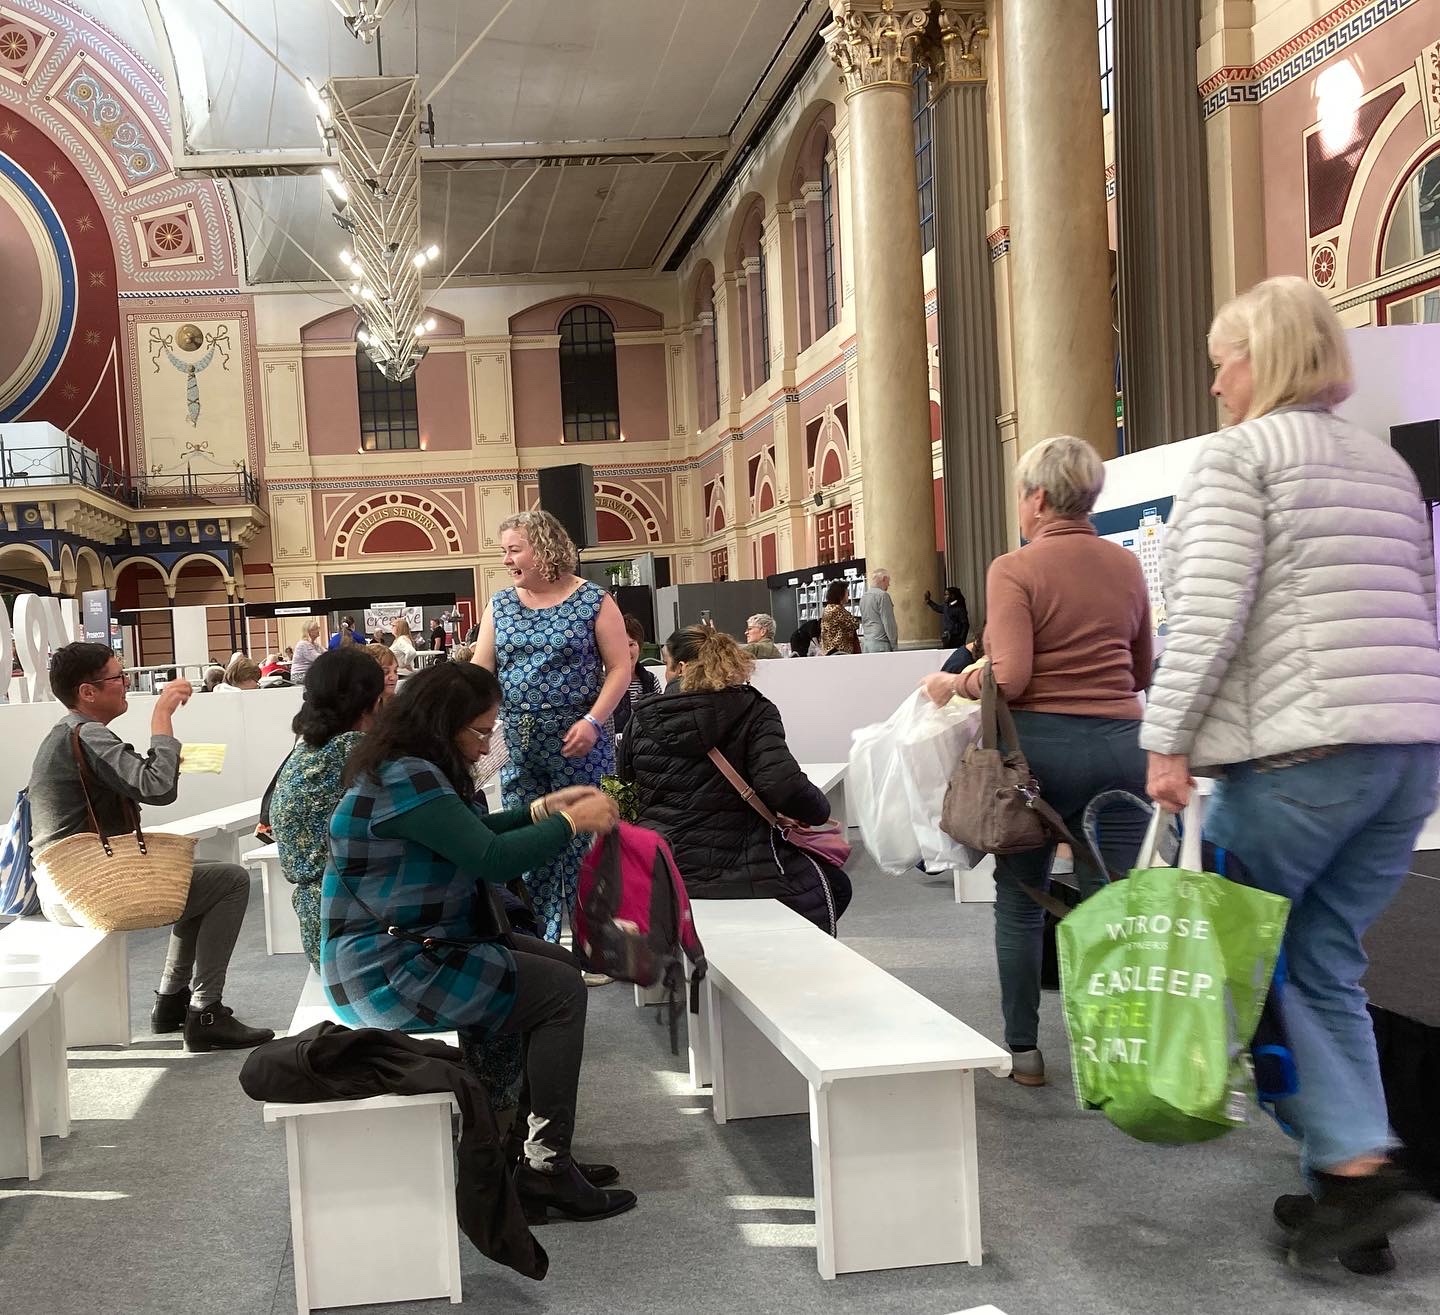
‘Left over scrap fabric is a conundrum for every stitcher’ says the organisers of the Knitting and Stitching Show. They invited me to share my ideas on scrap busting at the Creative Living Theatre at the show in October 2022. I wanted my advice to be as practical as possible and decided to use up all the scraps that were left over from making the Simone co-ord set from Maven Patterns. I’ve summarised the talk in this blog and video, I hope you find it useful. Thank you to everyone who came along to my talk and workshop. I hope to see you at the Stitch Festival in March 2023.
Working with narrow vintage fabrics
Vintage fabrics that are dated from the 1970s and older are nearly always a narrow width. Most of the vintage fabrics I sell are between 80 and 90cm wide. The pattern lay plans in today’s modern patterns ask for a 115cm or 150cm width of fabric. This isn’t a problem if there is a long length of vintage fabric but there isn’t always that luxury. The majority of vintage fabrics I sell are from people’s personal collections. They bought the fabric for their own use many decades before and might have only bought two or three metres. They are unique pieces that are very unlikely to be found else where.
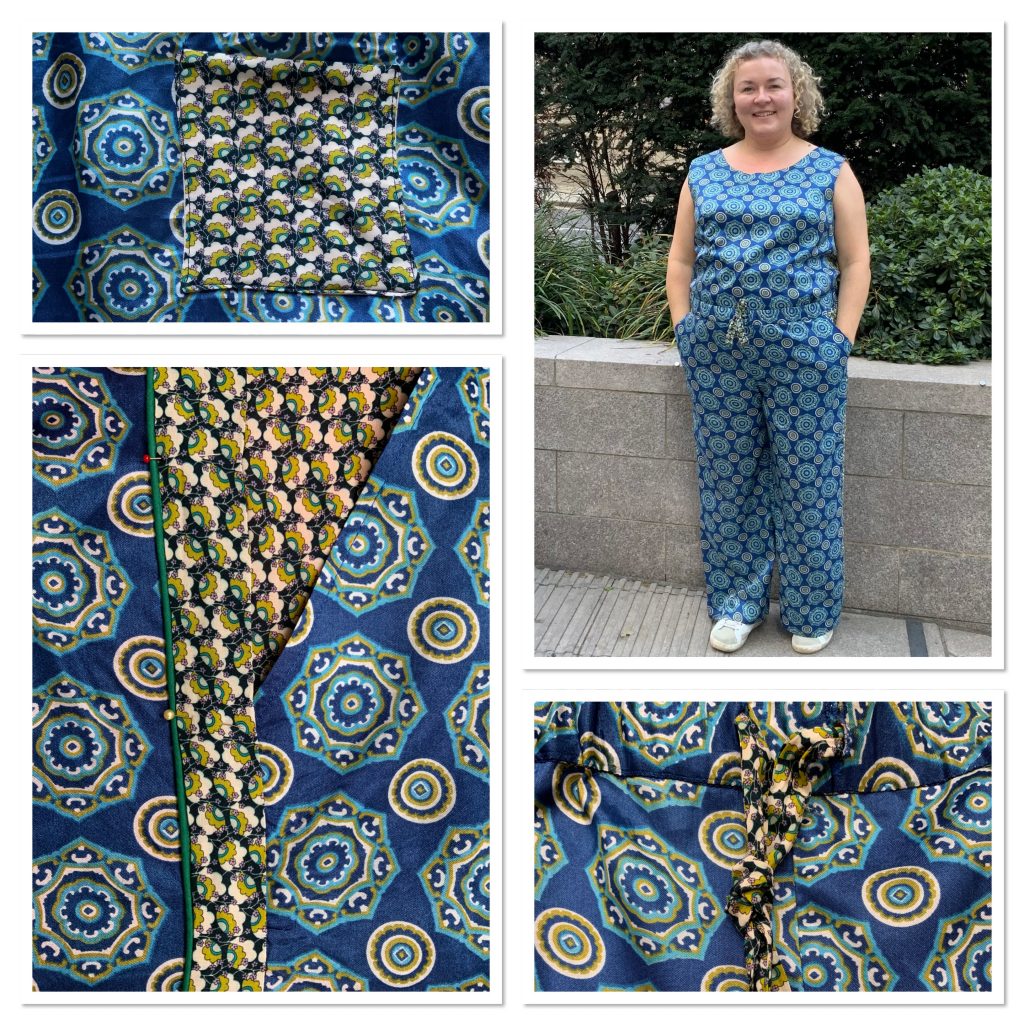
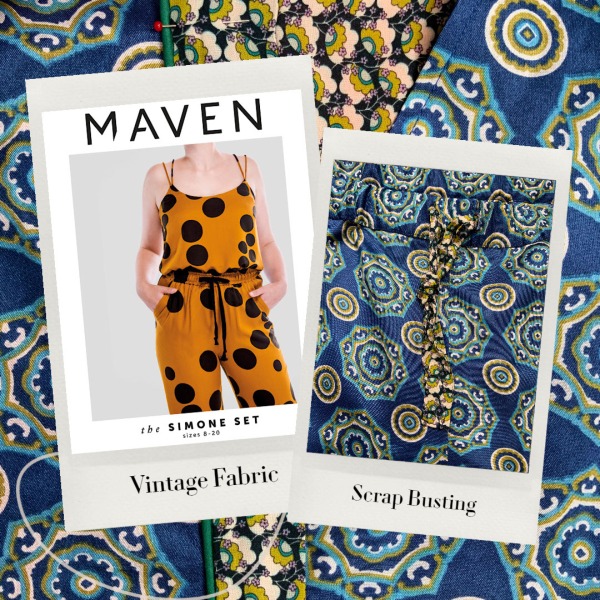
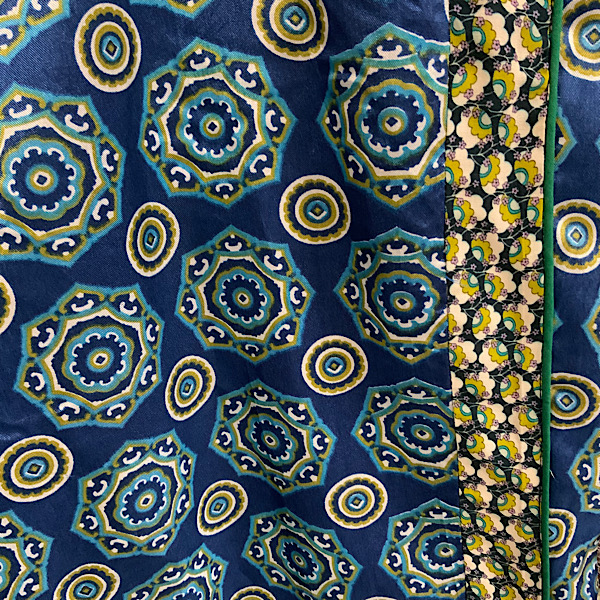
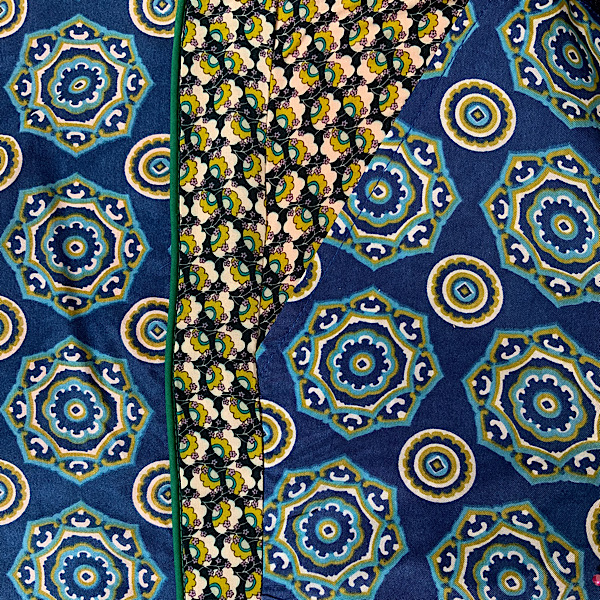
My sewing inspiration tends to come from the fabric rather than the pattern. I look at a piece of fabric and know what I want to create with it. Or I might keep it a while before the inspiration comes to me. I bought this vibrant blue vintage fabric from Anchors Aweigh in Whitstable. As soon as I saw it, I knew I wanted to create the Simone Set, the satin fabric works really well with the wide trousers. At 90cm wide, even the three metres length wasn’t enough for the whole set. Especially as I hacked the top and created a shell top instead of a camisole. I wasn’t going to let the shortage of fabric stop my sewing idea.
My friend Liz from Wooley Rockers had given me this smaller print from her fabric stash. I liked co-ordination of the ditsy print along with the larger print. I used it to make up for the short fall in the other fabric.
I cut the whole back piece of the top in the smaller print. I had enough for the rest of the pattern in the larger print but I wanted to tie the two fabrics together. I didn’t want it to look like I had run out of fabric for the back. This is how I got on.
Adjust the pattern before you cut the fabric
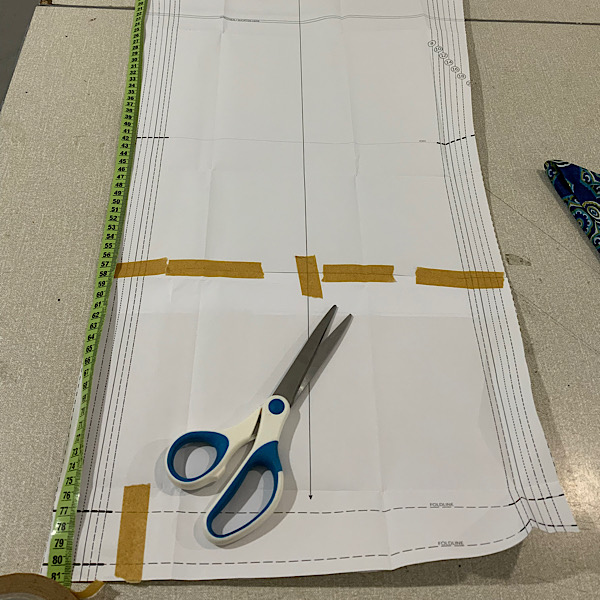
Adjust the pattern before you start. For example, I shortened the trousers to the correct length on the paper pattern before I cut the fabric. I have short legs so this saved quite a bit of fabric, rather than cutting the trousers and then having left over fabric.
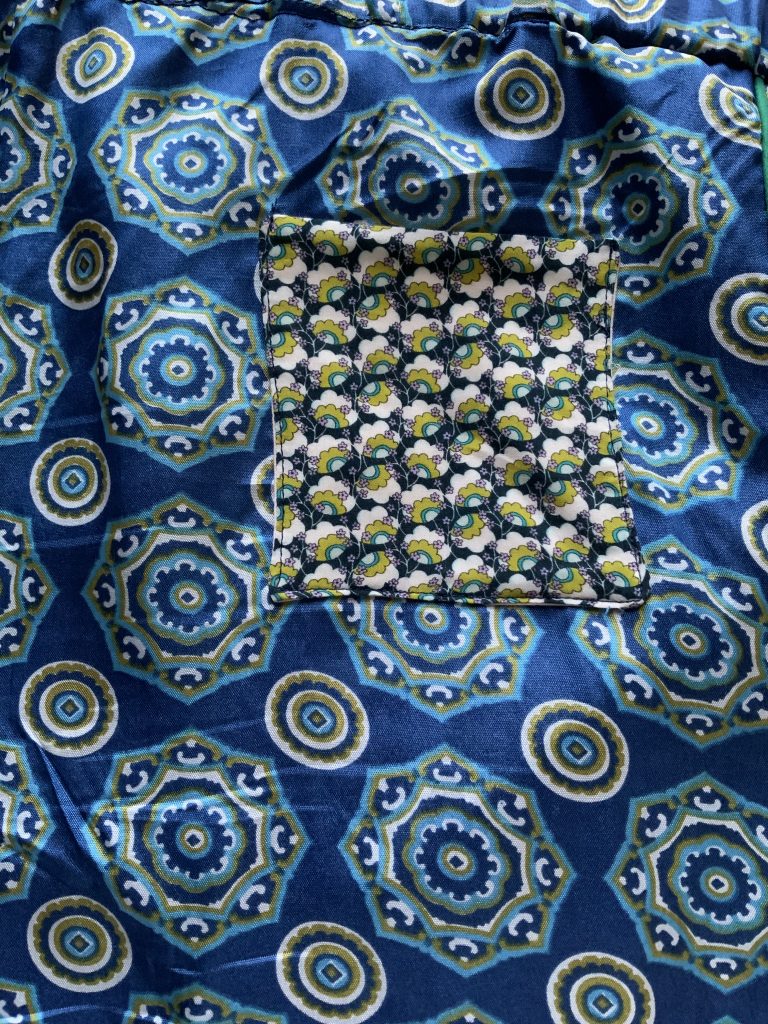
Seam pockets
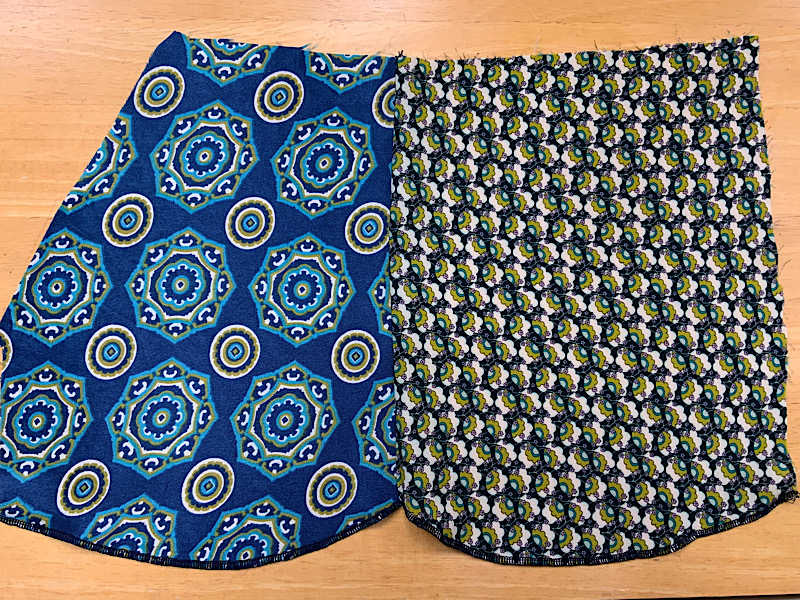
The Simone set patten has an inset side seam pocket. I cut the paper pattern in half and used the large print for the inside of the pocket. I used the smaller print for the piece of the pocket that was going to be seen.
Trouser panel stripes
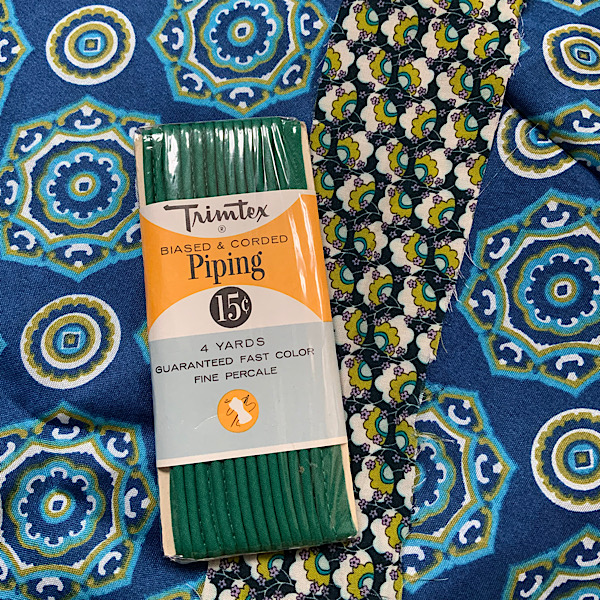
I like the sporty effect a side seam panel gives a pair of trousers. One good thing about having short legs is I had enough fabric to cut two lengths of fabric for each side of the trousers. I had some vintage piping in green and added this in to give a crisp look for the panel stripe. Follow these instructions before constructing the trousers.
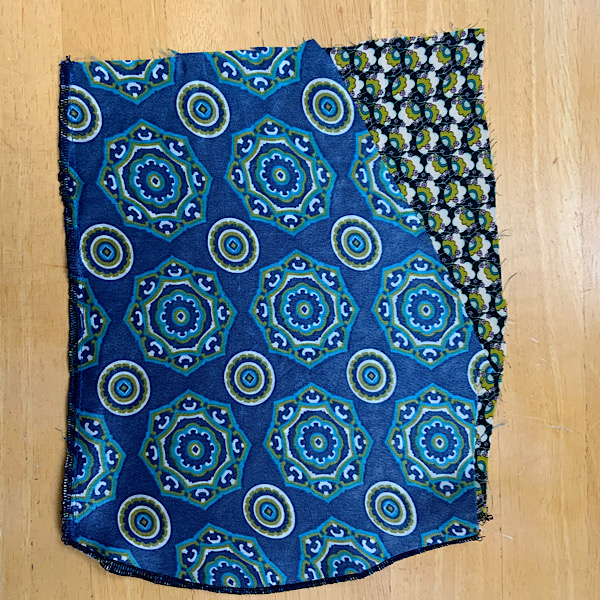
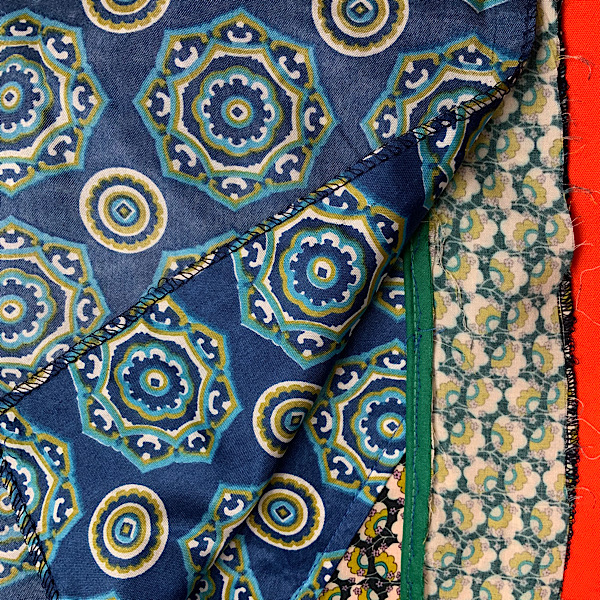
I used the waistband pattern piece as a template and cut two lengths of fabric. I stitched the pipping along one of the long pieces of fabric, raw edges of piping matching raw edge of fabric. I pressed the raw edges away from the finished piped edge (1st panel of 2nd photo). I wanted my panel to sit on the back of the trousers, pressed away from the pocket. I placed the raw edge of the panel stripe against the raw edge of the back trouser piece (photo 3), right sides together. I then placed the front trouser piece over the top, raw edges matching and right sides together. I carefully pinned along the edges then stitched through all three layers and finished the seams with an overlocker. This incorporated the raw edge of the panel stripe but leaves the piped edge flapping about. I pressed the seam open and carefully pinned it to the back of the trouser leg. I then carefully stitched in the ditch just below the piped edge using a zipper foot. I repeated for the other side.
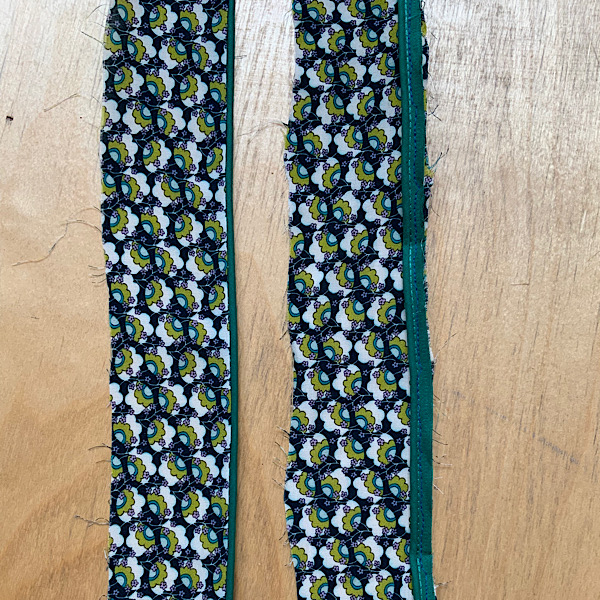
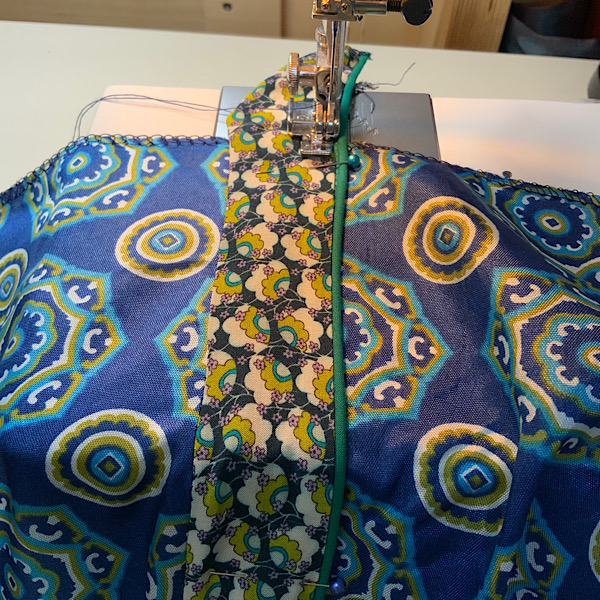
The piped panel stripe sits flat against the back of the trousers. It is a decorative feature and there is no need to adjust the original pattern.
Patch pockets
I added a patch pocket to the back of the trousers to tie the two prints together. I used the smaller print for the back pocket, which matched the back of the top. I did cut a pocket for the front of the top but I preferred the top without a pocket in the end. I used a pocket pattern from Tilly and the Buttons Coco dress but measuring out a square would work just as well. Both pieces of vintage fabrics are slippy so I bagged the pockets out with cotton poplin to give a neat edge. I pinned where I wanted the pocket to sit. I then top stitched around the three sides onto the back of the trousers.
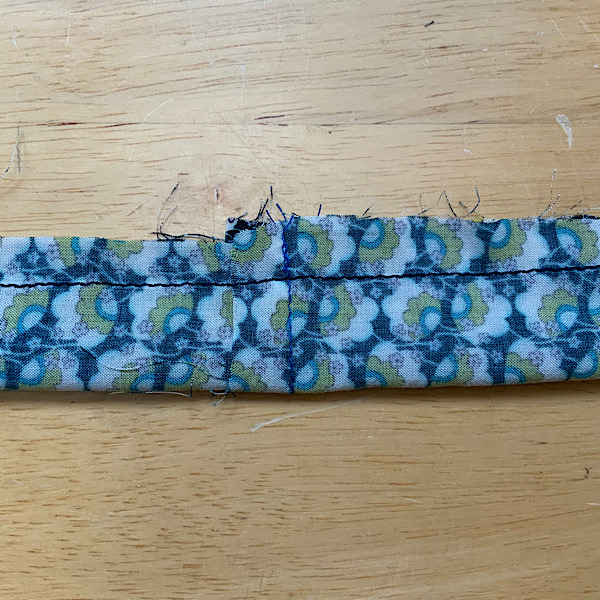
Waistband cord
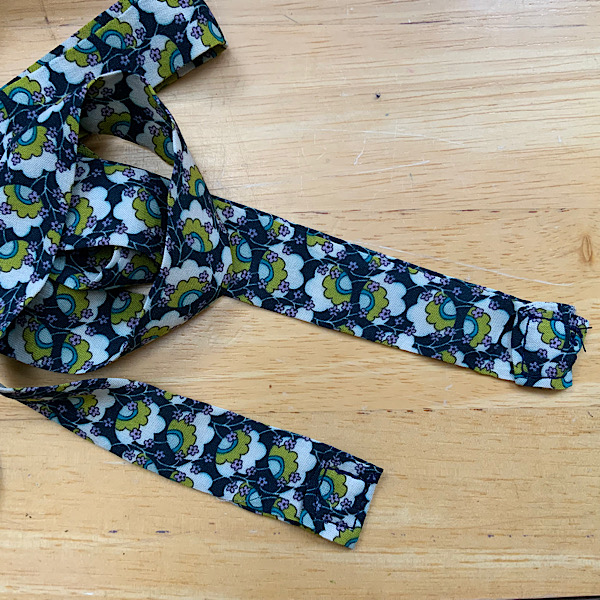
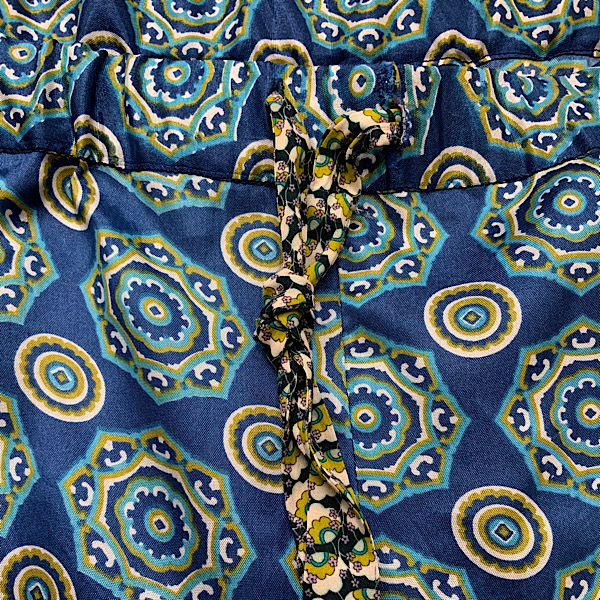
Using the waistband pattern as a template, I folded it in half lengthwise. I cut out three lengths of fabric from the smaller print. I then stitched these together along the short edge. I measured this around my waist, leaving enough to tie a bow. I cut it to the length I needed. I then folded the piece, right sides together, along the long edge. I stitched along the raw long edge. I turned them round to the correct side with a lot of patience and a knitting needle. I pressed the cord, turned over the short edges twice and stitched them in place. I then threaded this into the waistband as per the instructions on the pattern.
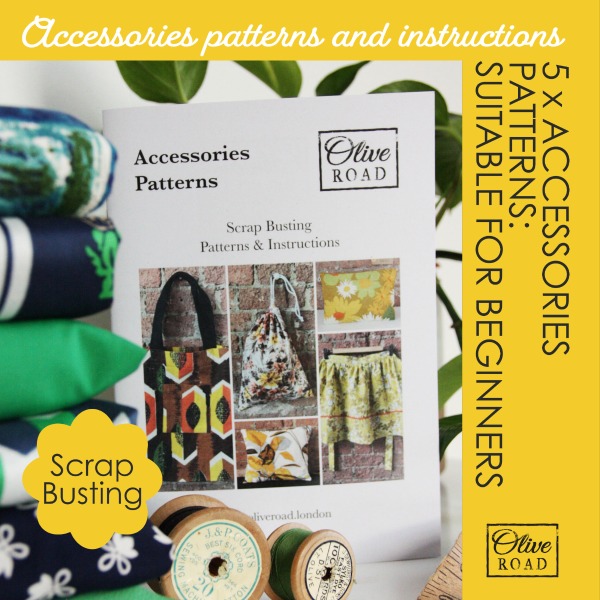
Make accessories from scrap fabrics
I had lots of scrap fabric in both prints left over once I had cut out the pattern. In addition to the pieces I cut above, I also made a scarf, cushion cover (with filling), large pocket for a tote bag and a zipper pouch. I managed this by piecing the small pieces of fabric together to create a larger piece of fabric. Find out more on this video.
I created these extra accessories using a set of patterns that I designed specifically for scrap fabrics. There are five patterns in one set. It comes with a step-by-step instruction booklet along with the paper patterns. No tracing required. I’m offering free shipping on this pattern set, use the code kits on check out.