Using scrap fabrics
This mask is simple to make and is the pleated variety. They do not have a space for a filter, I recommend Tilly & The Buttons video if you prefer this style. Or check out a full review of various mask making videos on Fast Fashion Therapy, including how to make a mask from an old T-shirt (no elastic required).
Fabric choices
I recommend using fabrics that can withstand washing at 60 degrees centigrade. I have read that fabrics need to be washed with soap at this temperature to help breakdown the proteins of the virus. Cotton poplin, cotton and poly-cotton shirting and light weight linen are all suitable fabric choices for this project. Be careful that the fabric is not too thick as the masks contain two layers plus pleats. The wearer needs to be able to breathe through all that fabric. Old shirts, pillow cases and bed sheets are ideal fabrics to use. I managed to squeeze 5 masks from my husband’s cotton shirt, including using the sleeves.
Make a mask instructions
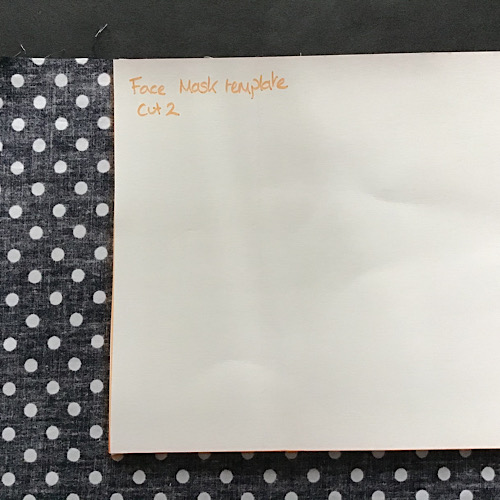
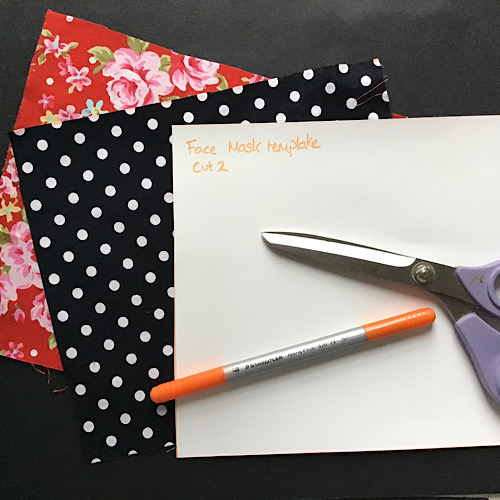
- Make a template: fold the pattern over at the dotted line – or measure a rectangle 19 x 21cm. Cut out from a piece of card (cereal boxes or the inside packaging of tights work well). This makes it quicker to cut out lots of masks in one go.
- To make one mask, draw around the template onto the fabric with tailors chalk, fabric pen or I used a regular felt tip. Cut out 2 pieces of fabric. I prefer different prints on each side, then when you take it off you know which side you had on the outside so you are not putting the dirty side next to your face. A contrast stitching in the bobbin also has the same effect.
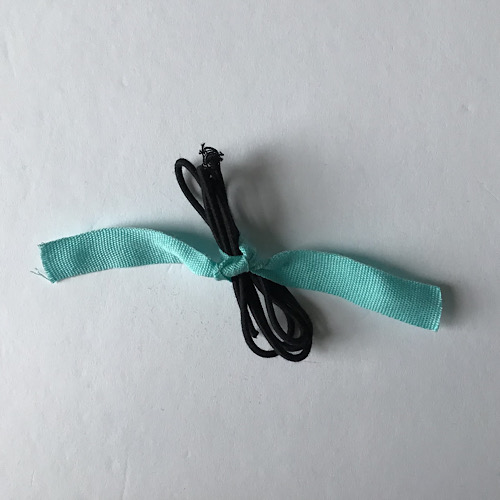

3. Cut 2 pieces of narrow elastic approximately 20cm long, or to your preferred measurement. I’ve cut a piece of tape to use as a template and use it to tie up my stash of elastic. I prefer the round cord from Mavern Patterns, which is made from organic cotton and natural rubber and comes in a choice of colours.
4. Place right sides of the fabric together. Lay the fabric flat with the long edge at the top.
5. Take one piece of elastic and place it in between the two layers of fabric. Place one end of the elastic to the top left hand corner of the of fabric. Pin in place by putting the pin right through both pieces of fabric and elastic. Quilting clips work better if you have some. Take the other end of the same piece of elastic and place at the bottom left hand corner of the fabric. Ensure that the main body of the elastic sits away from the short edge as this is going to be sewn together.
6. Repeat step 5 on the right hand side of the fabric with the second piece of elastic. The mask will start to fold in on itself so will have to be stretched out by hand as you sew.
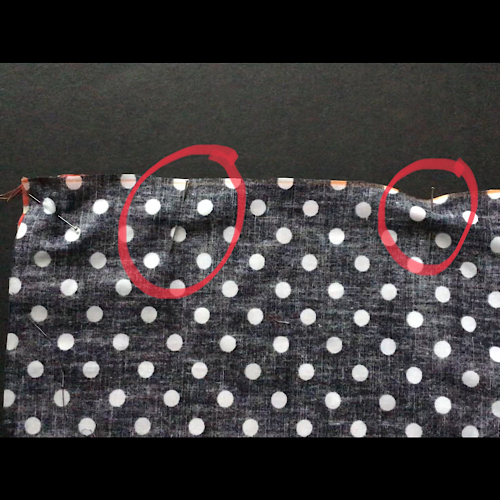
7. Lay the mask flat with the long edge at the top. Find the apx centre point. Measure 5cm to the left of this point and place a pin vertical to the edge of the fabric. Place another pin 5 cm to the right of the centre point. This is the opening to turn the fabric the right way out after sewing.
8. Pin the two pieces of fabric together around the remaining edges. Ensure the main body of the elastic is tucked out of the way of the edge. you only want to incorporate the ends of the elastic within the stitching.
9. Starting at one of the marker pins at the top edge, sew around all 4 edges using a 1cm seam allowance. Pivot 45 degrees at each corner. Stop at the second marker pin, leaving apx 10cm open gap at the top of the mask. You will have to stretch out the mask with your fingers as you sew. Also remove the pins as you go. The elastic ends will move when they are unpinned so hold them tight with your fingers. It doesn’t matter if there are any wobbly lines, they won’t show. Ensure you back stitch at the beginning and end of stitching to secure the seams.
10. Turn the mask the right side out by pulling through the opening at the top. Use the elastic to pull the corners out so they are fairly pointy. use a pencil or blunt ended scissors to make the corners pointed if you want to. I quite like the rounded corners.
11. Place the mask flat with the open edge at the top. Press it flat with your fingers or an iron. Ensure the seam allowance is tucked in and the open edge is level with the sewn seam. Pin in place and top stitch along this top line.
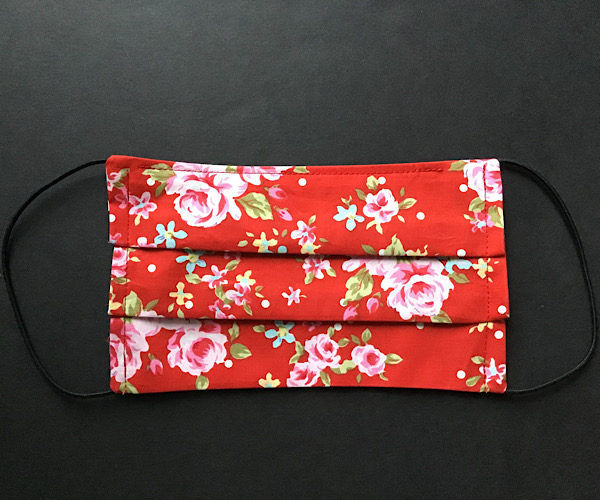
12. place the mask flat with the long edge at the top. Create 3 pleats by folding the mask over from short edge to short edge. I used my eye to do this as I’ve made quite a few of these. If this is your first one you might want to measure the pleats. Roughly 5cm in depth each. Pin them in place as you create the pleat.
13. Sew along the short edge of the mask fixing the pleats in place. I find it easier to sew with the pleats facing down. Ensure the elastic is out of the way.
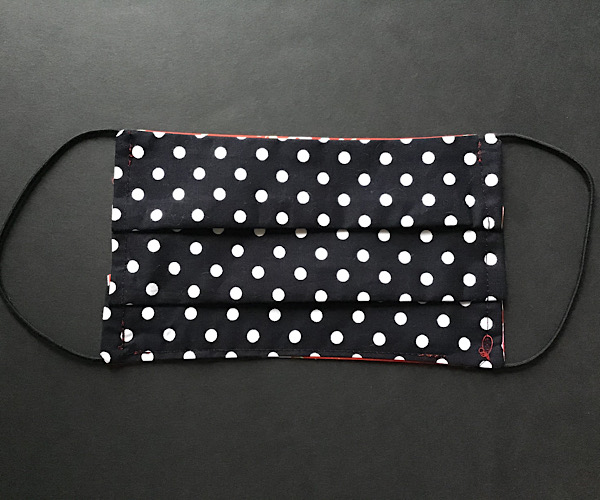
Give it a press and it is ready to wear! I prefer to make the masks in batches to save time e.g. cut 5 out at a time and follow each step for each piece of fabric.
NOTE: These masks are not suitable in a clinical setting. The UK Government recommend wearing the masks when social distancing is not possible, e.g. on public transport. They could possibly stop the wearer spreading the virus to someone else but they probably do not protect the wearer from catching the disease. The mask must be washed after each wear. Place the mask over your mouth and nose before leaving home. Do not touch your face or remove the mask whilst out and about. Wash your hands thoroughly before touching your face to remove the mask. Place the mask in a drawstring bag and wash them both on a hot soapy wash. I like to have two bags with me when I am out and about, one for my clean masks and one for my dirty ones.