Flatten out this booklet and use the whole page as a template. Cut 3 pieces out of fabric (I used an old tea towel).

Fold one of these pieces in half longways and press. Layer the 3 pieces on top of each other, right sides together. Folded piece in the middle, raw edge on the outer edge.
Cut 2 pieces of ribbon 15cm long, placing the 2 short ends together. Place along one of the short edges, just under the folded edge of fabric. Tuck the ends into the layered pieces of fabric so they will be caught into the stitching, edges of the ribbon lining up with the edges of the fabric. (I used the hem of the tea towel).

Find the centre of the top long edge. Measure 5cm on each side of the centre point and mark with a pin. Pin around all 4 outer edges. Sew around all 4 edges using a 1cm seam allowance. Ensure you back stitch at the beginning and end of stitching. Trim the corners as shown.

Reach through the un-stitched edge and turn right side out. Using scissors or a sharp point, push out the corners.

Press, tucking in the unfinished seam equal to the sewn edge. Top stitch along the top edge to secure the opening

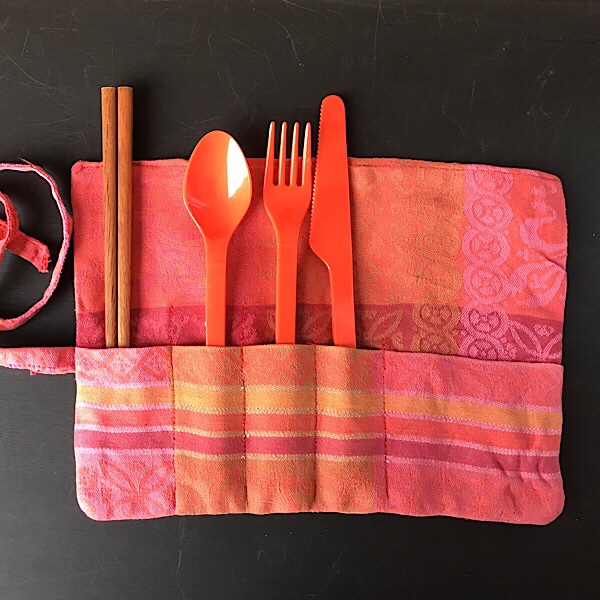
There should be an opening where the cutlery sits. Mark 4 equal sized compartments vertical to the bottom edge. Or mark them to the width you prefer.

Top stitch in place, back stitching over the folded edge by 1cm. Place in the cutlery, roll and tie in with the ribbon ends.
