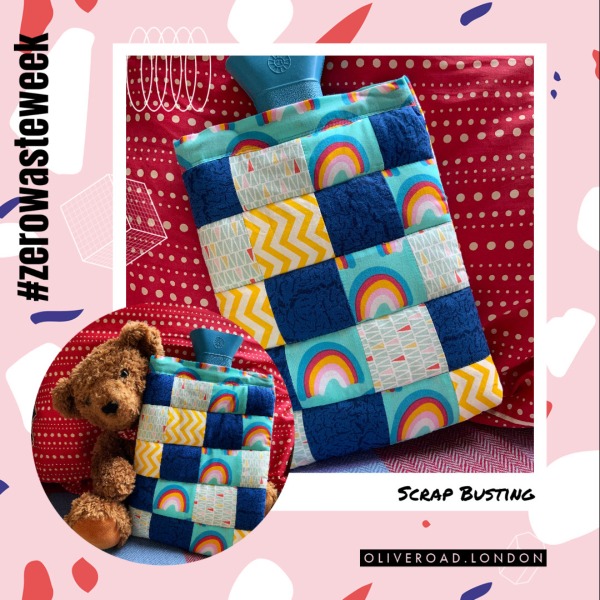
Make a hot water bottle cover from scrap fabric
Making our own clothes is eco friendly in many ways. One of the problems most sewists have is how to use up their scrap fabrics. Unless we use a zero waste pattern, small scraps of fabric are inevitable. Creating a larger piece of fabric from small pieces of fabric is the most useful way of using up these scraps. It is time consuming but well worth the effort. This hot water bottle cover has been created by cutting the fabric into regular squares and attaching them using the sewing machine.
How to make a quilted hot water bottle cover
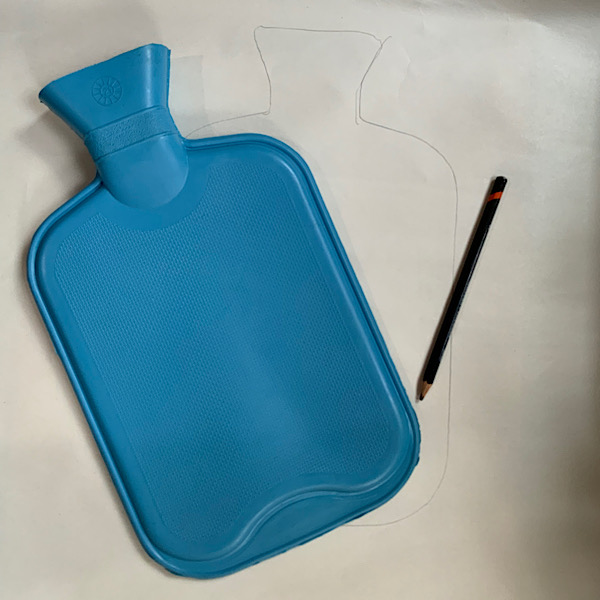
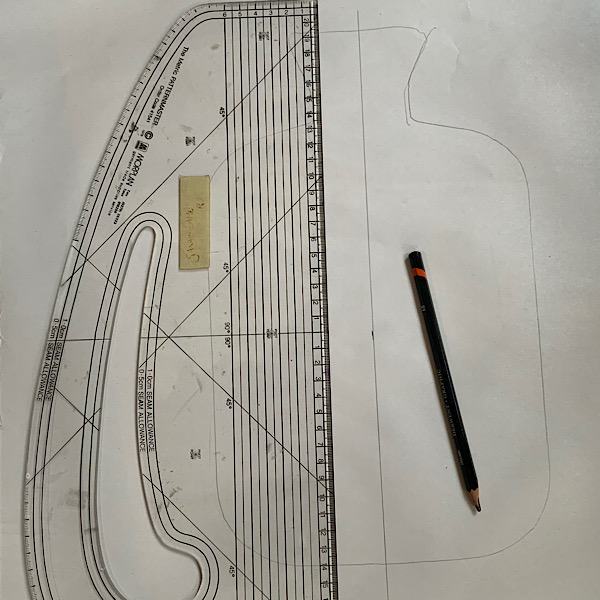
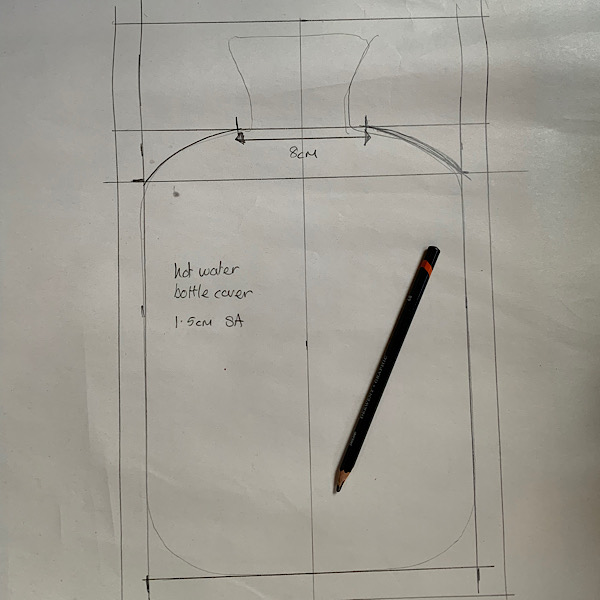
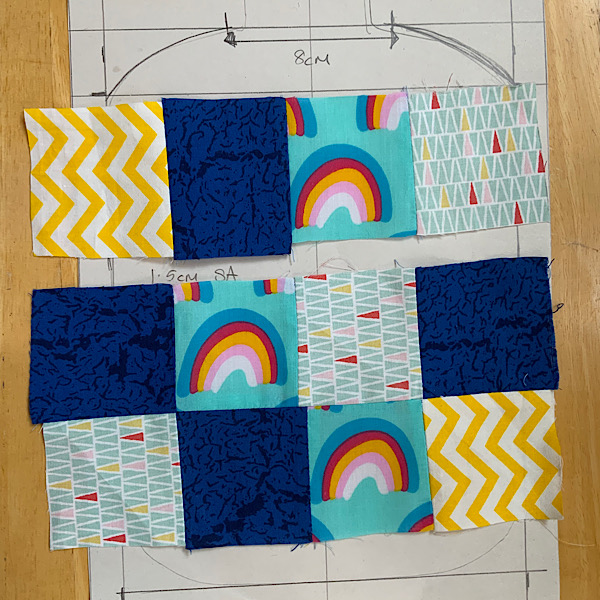
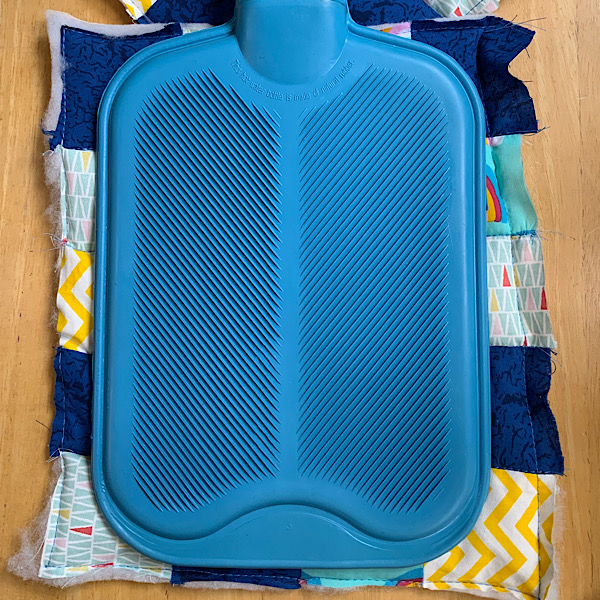
I decided to finish my hot water bottle cover at the funnel part but I drew the pattern to the top as a guide. I didn’t cut out the pattern but I used it as a template to keep laying my squares on to make sure they fit the hot water bottle.
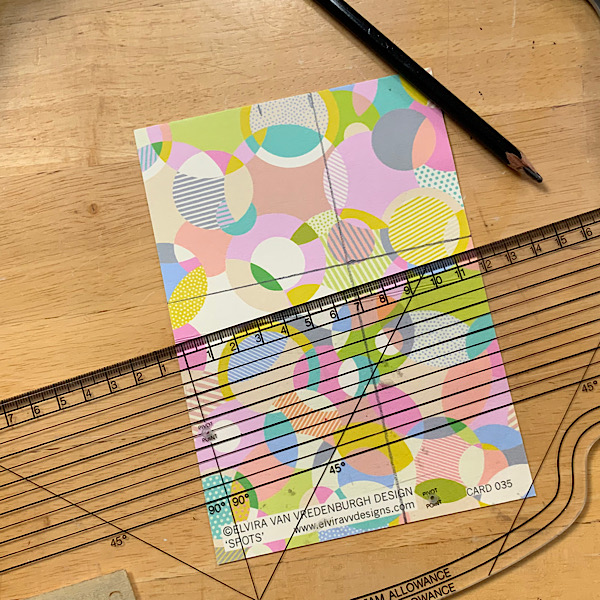
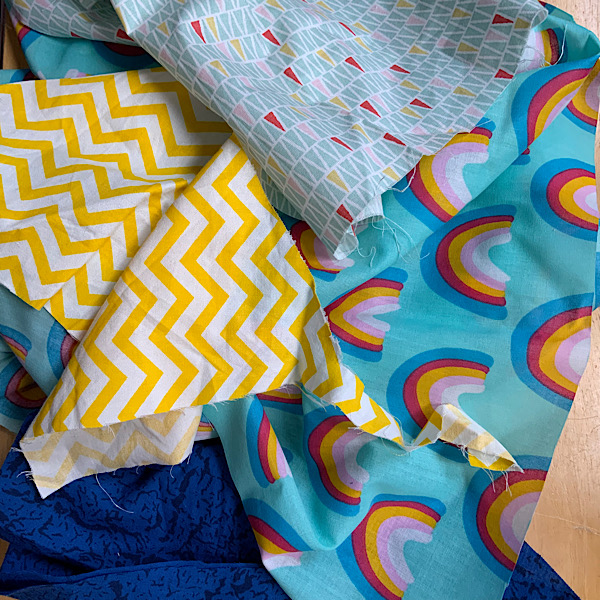
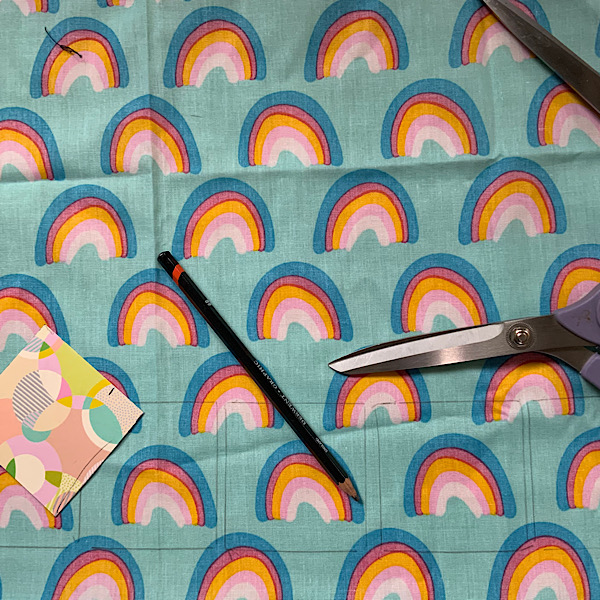
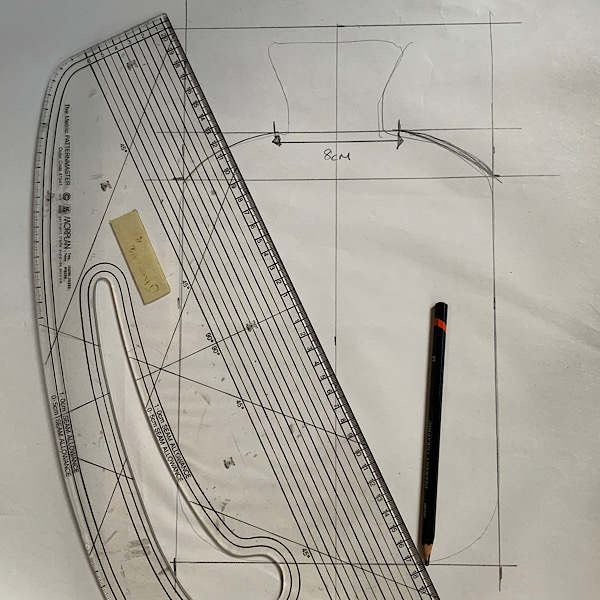
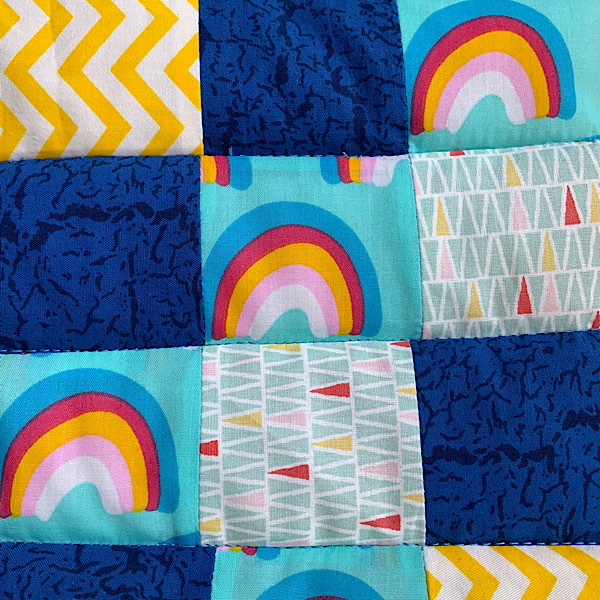
I measured the template and worked out that I needed 5cm square blocks. 6 lengthwise and 4 width wise. I cut out a block template from a gift card someone had sent me. I had a fat quarter of the rainbow fabric that I had picked up in a charity shop. I used this for the basis and chose three other fabrics that co-ordinated with this one. Some were very small scraps but I managed to get enough squares for both sides of the cover. I used cotton poplin as I thought this would work best for a hot water bottle cover. I have used more silky fabrics such as viscose for other scrap busting projects.
I drew around the block template onto the fabric and cut it out. I don’t have a rotary cutter but it would have been much quicker to use one of these and a metal ruler. The squares will be more accurate using a rotary cutter.
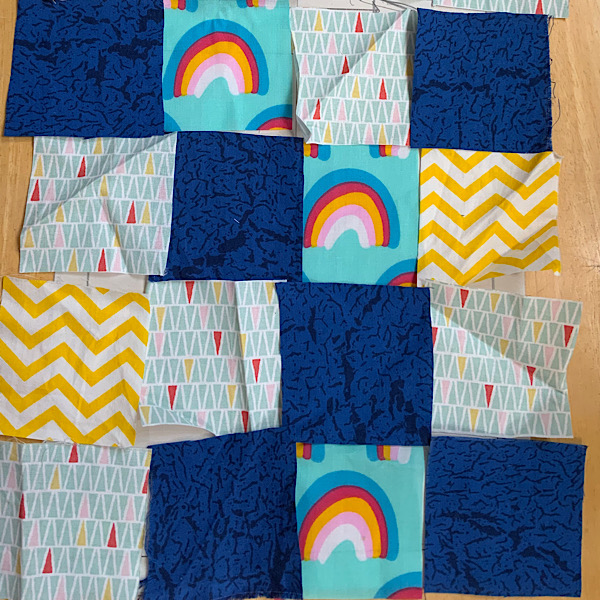
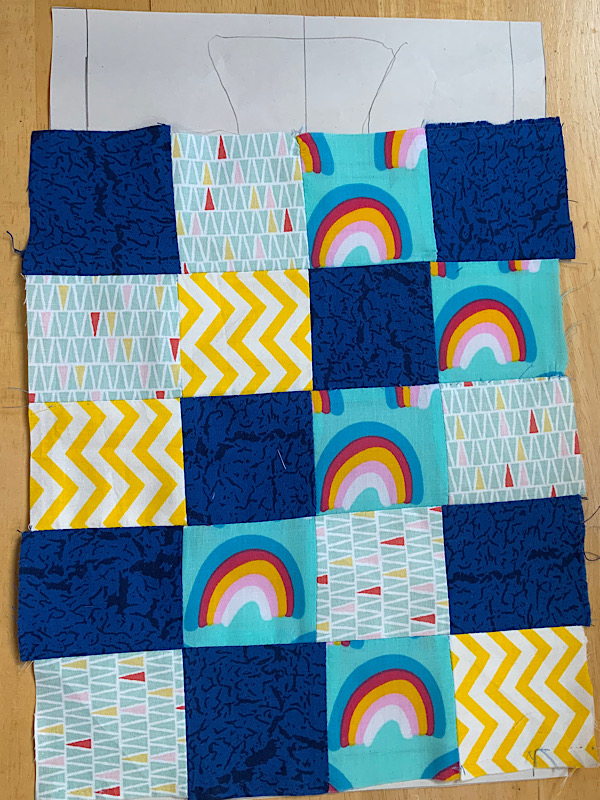
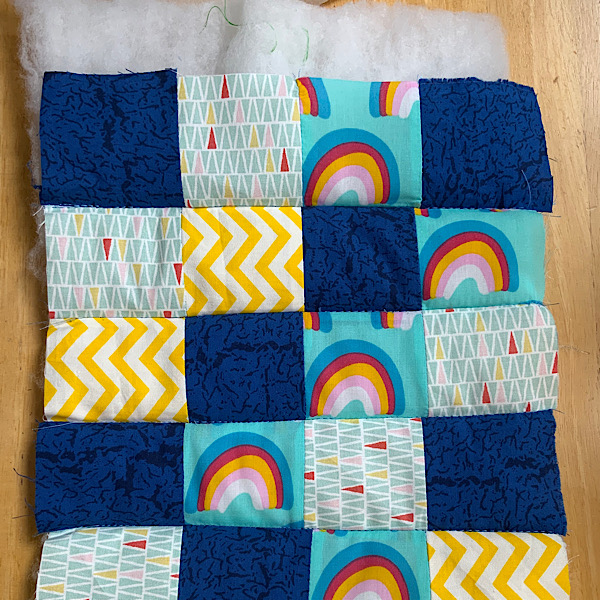
I laid the pieces out over the template until I had the effect I wanted. I wanted the patterns mixed up in no particular order but this was quite difficult with only 4 designs and some have ended up matching diagonally. I stitched each piece together in rows. Then I stitched the rows together. I used a 50mm seam allowance and didn’t finish the edges. Each time I created a row I pressed the seams flat. I repeated this for the other side of the hot water bottle cover.
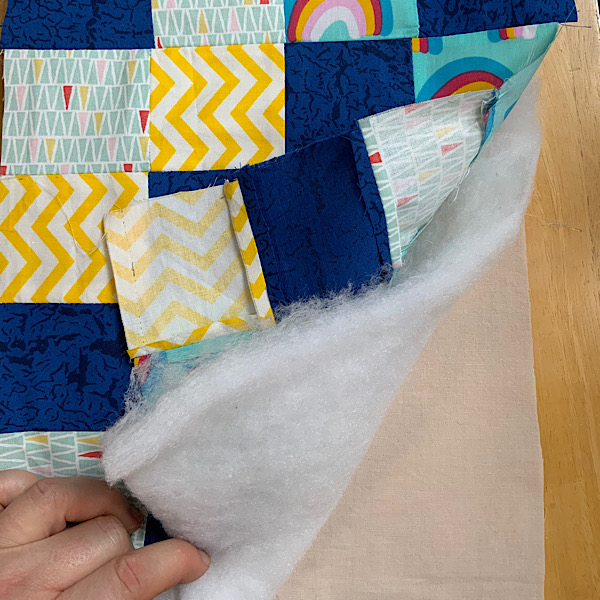
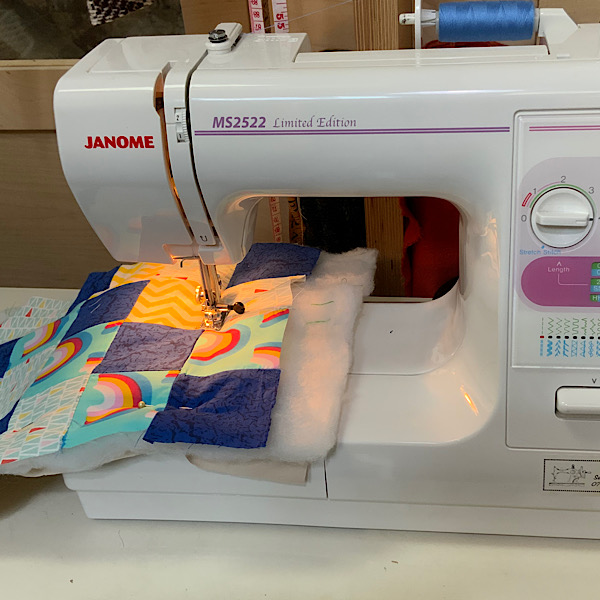
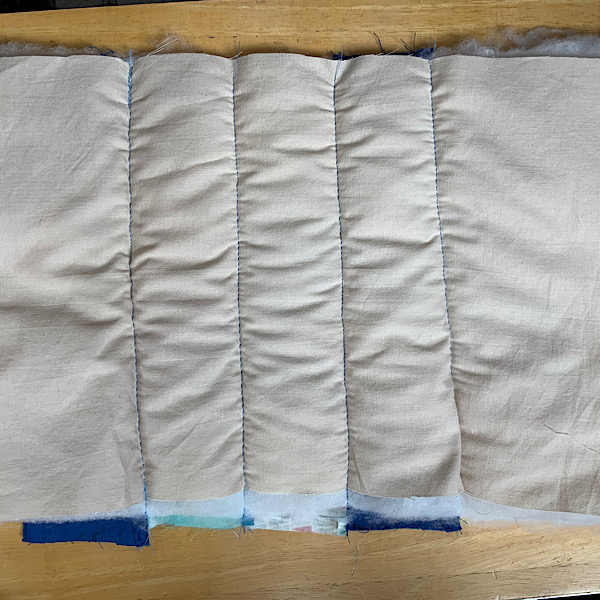
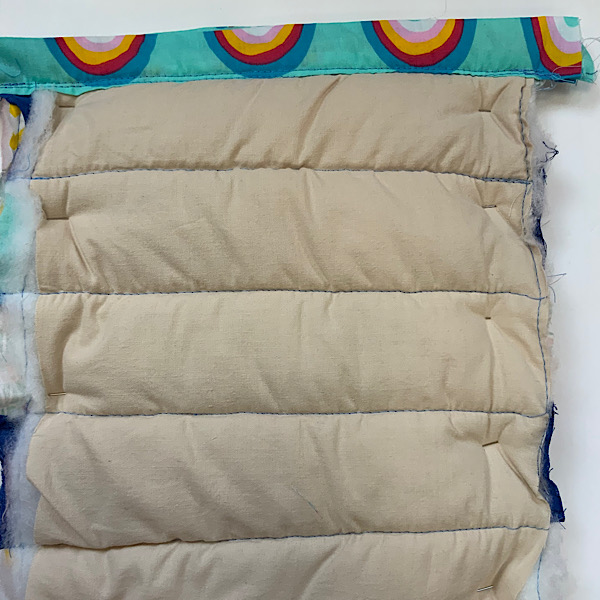
I decided to add wadding to the back of the fabric to give it a warm cosy feel. I used a larger piece of scrap fabric to back the wadding, which was an old piece of cotton curtain lining. The wadding is sandwiched between the two fabrics. I pinned the layers in place. I then stitched in the ditch along the rows to create a quilting effect. I didn’t quilt the columns too as I thought it might bunch up this small piece of fabric.
I then stitched around the outer edge to hold the layers in place and trimmed down the wadding to this line.
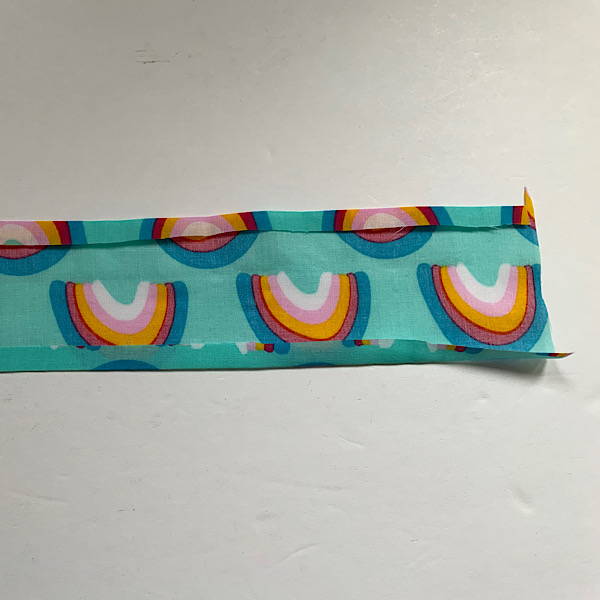
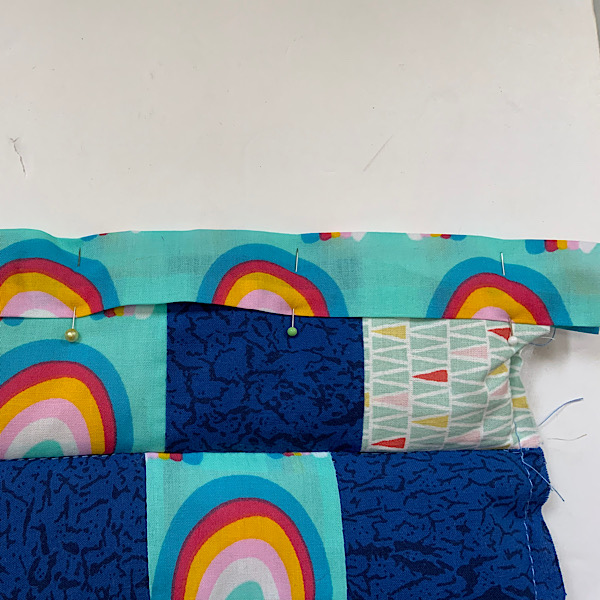
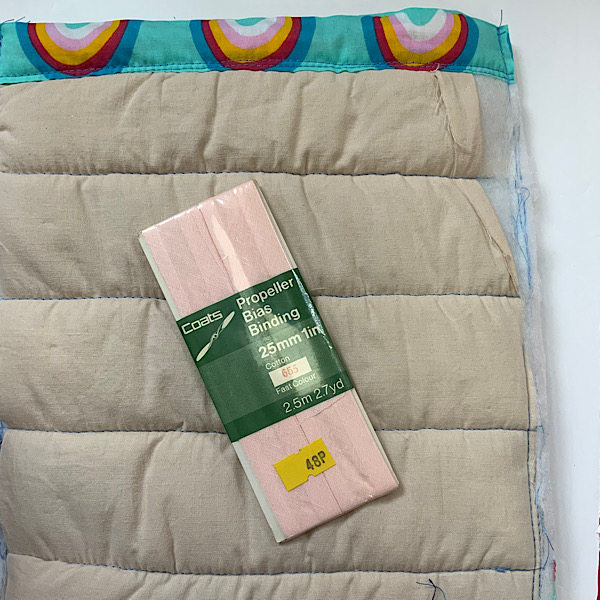
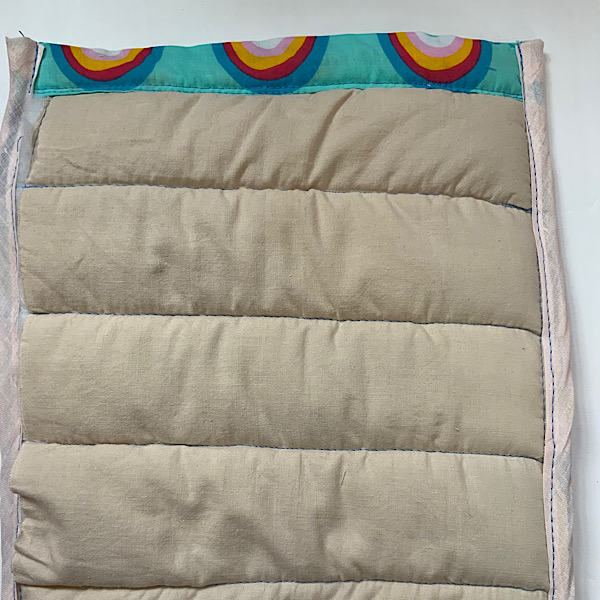
I checked the water bottle still fits the quilted fabric along with seam allowance. I cut a length of fabric 5cm deep and long enough to cover the width of the hot water bottle cover. I press the long edge of this strip from the right side to wrong side by 1cm. Then pinned it to the top edge of the cover, ensuring it was spread evenly. So the stitches would go through all layers. I repeated this for the other side of the hot water bottle cover.
I now have two rectangles of quilted fabric. The top edge of each is finished with a length of fabric. I placed the two pieces together ensuring the top edges matched. Right sides together. I pinned through all the layers. Then using a longer stitch length, I stitched around all three sides. Through all the layers, leaving the top edge open. using a long stitch length helped my machine get through the thick wadding.
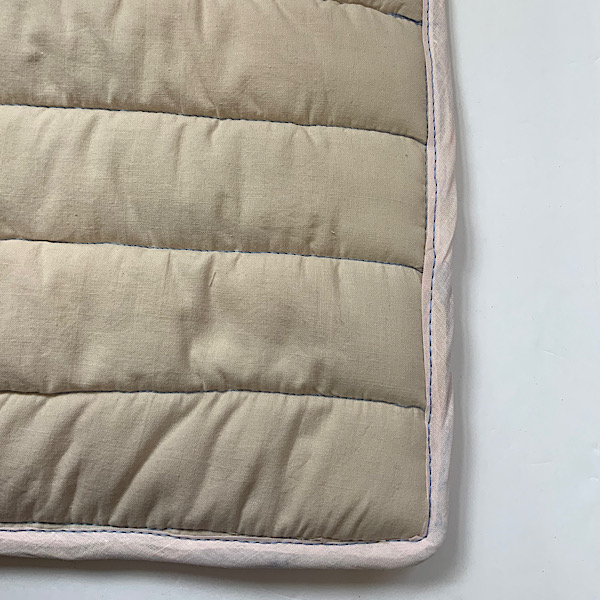
The edges looked a bit messy so I found some bias binding from my stash (I’m always collecting random habby from charity shops). I edged the fabric using the bias binding. Unfortunately some of the cotton lining had got caught up when I quilted it. Next time I would use a lining that is apx 2cm larger than the main fabric to allow for the fabric to get bunched up when stitching. I neatened the top of the cover by tucking in the edges of the bias binding before I stitched it down.
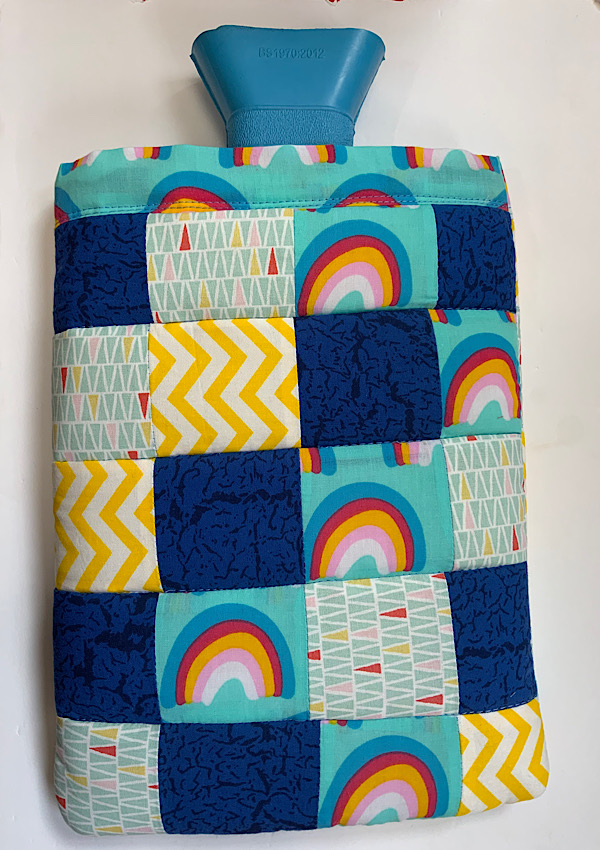
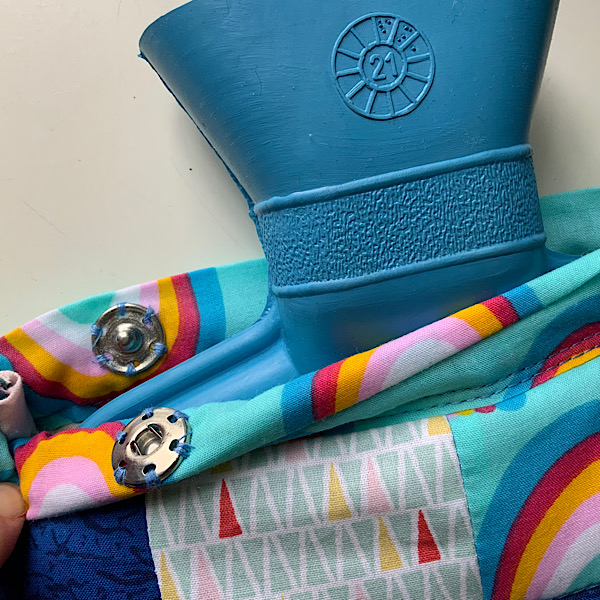
I checked the hot water bottle fitted into the new cover. Phew, it did! I then hand stitched two large press studs a few cm from the funnel of the bottle. Same on the other side. This helps keep the cover in place.
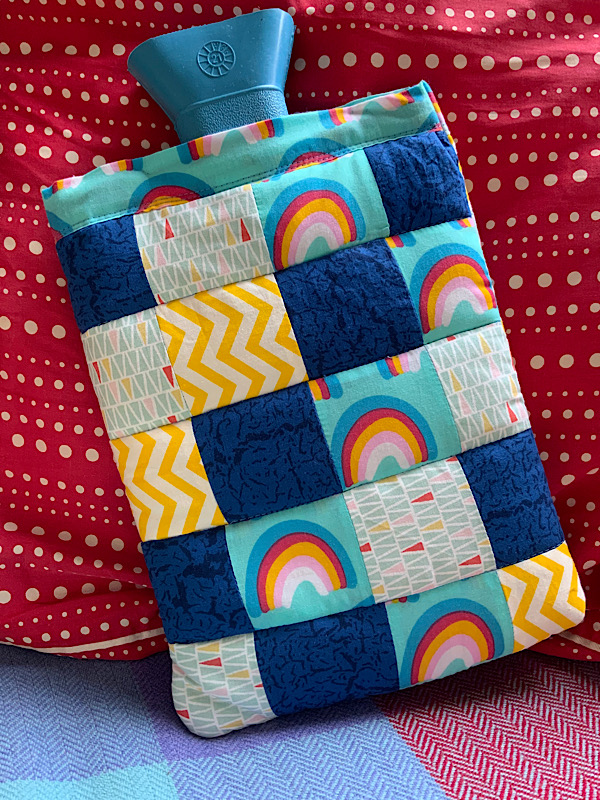
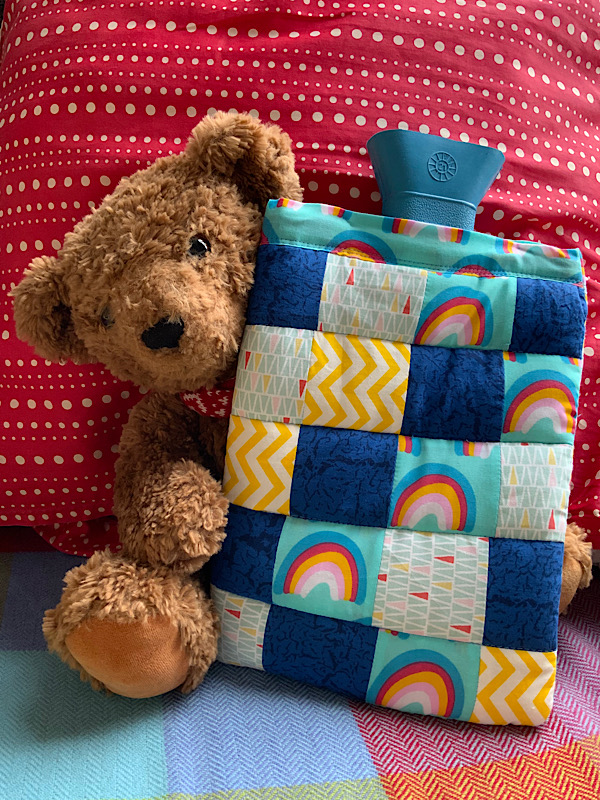
I’m not a quilter, you can see I didn’t quite match up all the squares. But I am pleased with the results. A few scraps of fabric have created a cosy hot water bottle for my niece to cuddle up with. This project took me approximately 3 hours. It is time consuming to create larger pieces of fabric from scrap but it is really worth the effort.
Customer Make

Melinda visited my studio this summer and bought some remnant pieces of vintage fabric. She has created these beautiful quilts with some of the fabrics and other pieces she had. The quilts are 1m square, perfect for small throws and lap quilts. Melinda saves her scrap fabrics for these projects, using only 3 colour ways. She ties them together with applique also created from scrap fabrics. Please share any ideas you have for your scrap fabrics.
I’ll be sharing more scrap busting ideas at The Knitting and Stitching Show this October. Thursday 6 October, 4pm at the Creative Living Theatre. It is free with the price of a ticket. Get £1.50 off the price of a ticket using the code WT22. I’m also teaching a workshop on how to make a vintage style pinny, this is a paid for workshop, book here. Scroll to about half way down, the workshop is Thursday 6th October at 2pm.